

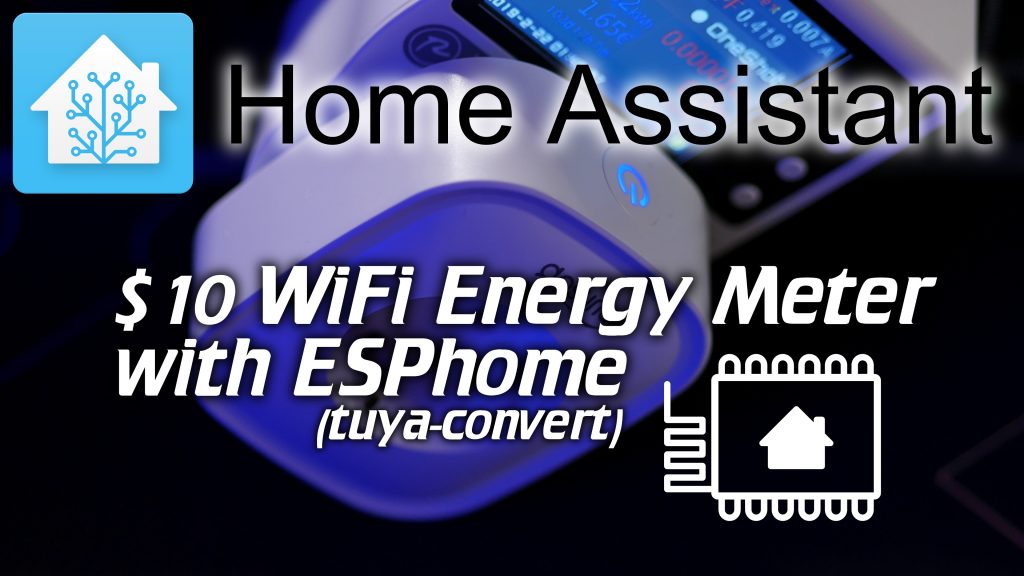
Ever since we’ve moved to our new house we have been having trouble keeping our energy usage in check. To combat this problem I’ve bought a bunch of 10$ energy meters which can be flashed without any soldering to the awesome ESPhome firmware!
This guide will show you how to do this and how to get everything setup in Home Assistant and Grafana!
Update 2020-01-25
- I have been receiving reports that the Teckin plugs sold in the US now contain an incompatible Realtek chipset. Best will be to get a different Tuya based brand!
Update 2019-06 “Preventative measures”
- Tuya, the manufacturer of these plugs has taken some preventative measures that make the below mentioned OTA flashing method impossible. That means you can’t use the OTA method anymore and you have to resort to soldering serial leads and flashing that way.
This takes a little bit more work but once converted, you can do with the plug whatever you want. This still makes everything discussed in this article viable and a great and cheap hardware solution, it’s just a little bit harder to achieve - Since releasing this video and article a new method of calibrating these plugs has become available within ESPhome, this is easier to use and delivers a better (more accurate) result in the end! I have no updated this article for this (this method still works) but Frenck, a colleague has made an excellent article how to use this new method, check it out on his website!
Post linked with Video
Although this is a written guide it’s meant to be used in conjunction with the video I made. So make sure to watch that too, in that video I will refer to text blocks which can be found here in this article.
Shopping links
If you want to buy any of these energy meters I would appreciate it very much if you used any of these (affiliated) shopping links! 🙂
Energy meters:
EU Style: https://geni.us/eSgZi
UK Style: https://geni.us/1DTCc
US Style: https://geni.us/yUqtLDb
–2020-04 I have getting reports the Teckin versions might sometimes have different hardware now (Realtek chipset), please use links to go to Amazon and select a different Tuya ESP based model!
–2020-12 Some version are still flashable, some are not, it’s becoming harder and harder to identify.
On Aliexpress, this seller is selling versions pre-flashed to Tasmota, so those can easily be used that way or flashed over to ESPhome (as I show in my guides).
Raspberry Pi 3 B+: https://geni.us/WAq4p
Cheap Compatible WiFi dongle: https://geni.us/e2oGA
(Works for PC or Raspberry Pi without WiFi)
PR10-C Power Meter: http://geni.us/h8kokVq
Text Blocks
As mentioned above, the following text blocks are for if you want to follow along with the video!
Contents of “temp_flash”
esphomeyaml:
  name: temp_flash
  platform: ESP8266
  board: esp8285

wifi:
  ssid: 'MYWIFI'
  password: 'MYPASSWORD'

# Enable logging
logger:

# Enable Web server
web_server:
  port: 80

# Enable Home Assistant API
api:
  password: 'MYPASSWORD'

ota:
  password: 'MYPASSWORD'
Make sure to fill in your own WiFi SSID, password and passwords for API and OTA! We are going to need these later on!
#Installing Git
sudo apt install git

# Using Git to pull down software
git clone https://github.com/ct-Open-Source/tuya-convert

# Changing directory
cd tuya-convert

# Running software install script
./install_prereq.sh

# Installing aptitude package manager (optional)
sudo apt install aptitude

# Fixing broken NPM install (optional)
sudo aptitude install npm
Now that we have all the software we need, we need to find the names the operation system has given our network cards. This differs per Linux version, in my case I’m using Ubuntu 18.10 which renames adapters.
# Command to find current Wireless Adapter name
dmesg | grep wlan

# Command to find current Wireless Adapter name
dmesg | grep eth

# Enter into config.txt file
nano config.txt

# After pasting in values
CTRL + X, yes to save
Pay attention! In my case the adapters where renamed to different names so I had to change them in the config.txt file. If your adapters are called “wlan0” and “eth0” you don’t need to change the config.txt file since the default values are correct.
My .bin file is not on my flashing machine
If your file is not on the machine you are running the flash software on (for instance you are using a Raspberry Pi with a clean raspbian install) you need to transfer it over. The easiest way to do this is by downloading the file on your desktop as instructed in the video and then running a program called “WinSCP” or “FileZilla Client”. With it you can transfer files over an SSH connection and transfer the file over the Linux PC.
Once you have the file in place in the “files” directory we we can start the flash script.
# Starting flash program
./start_flash.sh
Once that is running and you’ve entered “yes”, open a second terminal window or SSH session and run the following to see the “wifi” log file.
# Changing directories
cd tuya-convert
cd scripts

# Tail log file
tail -f smarthack-wifi.log
Problem with Port 53 being used already, stopping that program
# Stop systemd-resolved
sudo systemctl stop systemd-resolved
After this startup the software again and follow the instructions. If more things go wrong or nothing seems to happen make sure to take a close look at the other log files also located in the “scripts” directory, they can give you valuable information what might be wrong.
Second video
In this video we are going to upload the actual config we are going to use in ESPhome, calibrate the energy meter and then make it available in Home Assistant and build a simple graph, if you want to follow along, take a look at the video and find all text fields you might need below! 🙂

Full ESPhome config
This will be part of the second video where we will flash the full config on the now ESPhome running smart-plug and link it to Home Assistant.
Use CTRL-F to find and replace “energy_temp” with unique values for this specific meter.
–update There is updated code in which you don’t have to replace all the values yourself, check down below for “updated code”
esphomeyaml:
  name: energy_temp
  platform: ESP8266
  board: esp8285

wifi:
  ssid: 'SSIDSSIDSSID'
  password: 'WIFIPASSWORD'

# Enable logging
logger:

# Enable Web server
web_server:
  port: 80

# Enable Home Assistant API
api:
  password: 'PASSWORD'

ota:
  password: 'PASSWORD'

time:
  - platform: homeassistant
    id: homeassistant_time

binary_sensor:
  - platform: gpio
    pin:
      number: GPIO3
      inverted: True
    name: "energy_temp_button"


switch:
- platform: gpio
  name: "energy_temp_Relay"
  pin: GPIO14
  restore_mode: ALWAYS_ON

- platform: gpio
  name: "energy_temp_LED_Blue"
  pin: GPIO1
  inverted: True
  restore_mode: ALWAYS_OFF

- platform: gpio
  name: "energy_temp_LED_Red"
  pin: GPIO13
  inverted: True
  restore_mode: ALWAYS_OFF

sensor:
  - platform: hlw8012
    sel_pin:
      number: GPIO12
      inverted: True
    cf_pin: GPIO04
    cf1_pin: GPIO05
    # Higher value gives lower watt readout
    current_resistor: 0.00221
    # Lower value gives lower voltage readout
    voltage_divider: 871
    current:
      name: "energy_temp_Amperage"
      unit_of_measurement: A
    voltage:
      name: "energy_temp_Voltage"
      unit_of_measurement: V
    power:
      name: "energy_temp_Wattage"
      unit_of_measurement: W
      id: "energy_temp_Wattage"
    change_mode_every: 8
    update_interval: 10s
  - platform: total_daily_energy
    name: "energy_temp_Total Daily Energy"
    power_id: "energy_temp_Wattage"
    filters:
        # Multiplication factor from W to kW is 0.001
        - multiply: 0.001
    unit_of_measurement: kWh

# Extra sensor to keep track of plug uptime
  - platform: uptime
    name: energy_temp_Uptime Sensor
!There is updated code lower on this page, go and copy that instead of what is above this text!
Calibrating the meter
Once that is uploaded and active I advise you to do some calibration with an external meter. I recommend using the following meters for that, these are quite a bit more expensive but come with an easy to read and responsive screen and it has a factory good factory installed auto-adjusting calibration!
The calibration can be changed in the ESPhome code by varying the “current_resistor” and “voltage_divider” values. To get a higher wattage use a lower number for the “current_resistor”. Voltage works in reverse, to get a higher voltage, use a higher number in “voltage_divider”!
Changes should be made with small numbers, so try raising or lowering the numbers by 5 to start with.
LoveLace Graph card
The Home Assistant lovelace card used is called “mini-graph-card” and can be found by clicking on the name!
animate: true
entities:
  - entity: sensor.energy_1_wattage
    show_state: true
  - entity: sensor.energy_2_wattage
    show_state: true
  - entity: sensor.energy_3_wattage
    show_state: true
hour24: true
hours_to_show: 12
labels: true
legend: true
name: LED Lighting - 12 Hours
points_per_hour: 4
type: 'custom:mini-graph-card'
Updated ESPhome code
Someone commented on my videos that since a recent version of ESPhome it’s now possible to use “variables” or as they are named in ESPhome: substitutions
This makes replacing the number in all the separate metering plugs a lot easier since you can now just change the one substitution and it will change all the parts of the code for you! I’ve also done the same for the “current_resistor” and “voltage_divider” values so you can always edit them at the top!
substitutions:
  plug_name: energy_17
  # Higher value gives lower watt readout
  current_res: "0.00221"
  # Lower value gives lower voltage readout
  voltage_div: "955"

esphome:
  name: ${plug_name}
  platform: ESP8266
  board: esp8285

wifi:
  ssid: 'SSIDSSIDSSID'
  password: 'WIFIPASSWORD'

# Enable logging
logger:

# Enable Web server
web_server:
  port: 80

# Enable Home Assistant API
api:
  password: 'PASSWORD'

ota:
  password: 'PASSWORD'

time:
  - platform: homeassistant
    id: homeassistant_time

binary_sensor:
  - platform: gpio
    pin:
      number: GPIO3
      inverted: True
    name: "${plug_name}_button"

switch:
- platform: gpio
  name: "${plug_name}_Relay"
  pin: GPIO14
  restore_mode: ALWAYS_ON
- platform: gpio
  name: "${plug_name}_LED_Blue"
  pin: GPIO1
  inverted: True
  restore_mode: ALWAYS_OFF
- platform: gpio
  name: "${plug_name}_LED_Red"
  pin: GPIO13
  inverted: True
  restore_mode: ALWAYS_OFF
sensor:
  - platform: hlw8012
    sel_pin:
      number: GPIO12
      inverted: True
    cf_pin: GPIO04
    cf1_pin: GPIO05
    current_resistor: ${current_res}
    voltage_divider: ${voltage_div}
    current:
      name: "${plug_name}_Amperage"
      unit_of_measurement: A
    voltage:
      name: "${plug_name}_Voltage"
      unit_of_measurement: V
    power:
      name: "${plug_name}_Wattage"
      unit_of_measurement: W
      id: "${plug_name}_Wattage"
    change_mode_every: 8
    update_interval: 10s
  - platform: total_daily_energy
    name: "${plug_name}_Total Daily Energy"
    power_id: "${plug_name}_Wattage"
    filters:
        # Multiplication factor from W to kW is 0.001
        - multiply: 0.001
    unit_of_measurement: kWh

# Extra sensor to keep track of plug uptime
  - platform: uptime
    name: ${plug_name}_Uptime Sensor
Third video
The third video is about using Grafana to make some nice graphs about all the data we are now collecting in Home-Assistant.
This isn’t a full tutorial on how to setup Home-Assistant and have it send its data to InfluxDB and then then let Grafana use that data. Lots of how-to’s have been written for that, so check one of those if you don’t have this setup yet. Or watch the video below and then decide if you want to set this up.

Fourth video
The fourth and last video in this series (for now) is going to be how we were able to lower our power usage because of the insight these plugs provided and some automations using Node-Red that can be configured to again, use less power and hopefully, in the end, make these plugs pay for themselves!