

A big part of being able to build and tinker is having the correct tools and components. In this post I will show everything I use to completely solder a QuinLED board so you can get the right kit!
This post is part of a series
–update 2017-02-07
I’ve uploaded a new article and video detailing version 2.6 of the QuinLED PCB! Check it out by clicking here!
–update 2017-11-01
I’ve checked and updated all the links!
First a video
I’m starting off with a video because I think it’s easiest to show everything I’m going to use and tell you why or how I’m using it. Following after the video will be a complete kitlist of the items you need.

QuinLED v2.5 rev1.12 board files
Please check below for version 2.6!
I make the PCB designs in fritzing. But a board house mostly only takes gerber files. Click here to download a ZIP file with both included.
Alternatively, you can order a set of boards from DirtyPCB’s where I also get my boards from. Normally, they offer great boards for dirt cheap prices, but as you where able to see, in the last batch the silkscreen was missing. I contacted them and they are sending me a new batch for free! I really recommend these guys. 🙂
QuinLED v2.6 Rev1.00 available!
Please check out the following post for the newest board files. Version 2.6 replaces all older versions! Click here to view the new post and order links!
They only charge you 14$ for a protopack (at least 10)! And since QuinLED is panalized, you actually get 20 QuinLEDs in total!
You can use my design for any project you wish, have fun with it! Also I’d love to hear from you if your going to make some QuinLED’s or if you made some changes to the boards or really only used it as inspiration for your project.
The only exception is commercial projects. If you wish to use any of my designs in a product that is going to be sold (in whatever form) please contact me first.
–update
The resistor placement and design on this board sadly enough failed testing. The boards work just fine without them but I think I botched something up while the designing the resistor layout. For now I suggest just using the boards without them (like my old designs), that way they have tested to work very well! Fixed in v2.6!
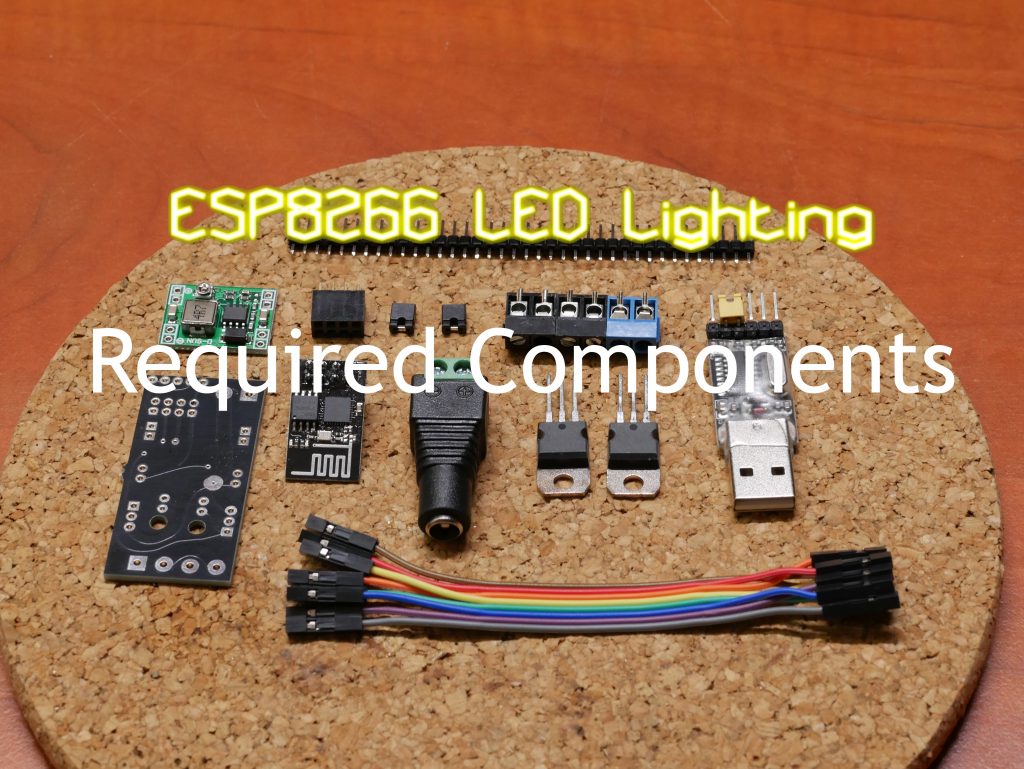
QuinLED required board components
First I want to talk about the components you are going to need to actually get the board finished. The shopping links provided are from Aliexpress where I also source everything myself. It takes a while to arrive, but you always get your goods and their prices can’t be beat!
Most of these items come in bulk, but because I never build only one and they are universal components, I don’t believe that has to be a real problem. You’ll never know when you just might need a jumper or dupont cable for something!
A finished board has a material cost of around 7$ with everything included!
1. The PCB board
First off, you need to have the PCB. No I don’t have single quantities or anything like that for sale. The only way to get them is by ordering a protopack from DirtyPCB’s or using the Gerber files and getting it made somewhere else.
For 14$ you get 10 boards, which results in 20 QuinLED PCB’s! The link is for version 2.6 rev 1.00.
You can order the boards here!
![d71fb07b5c27833b79b3068bd48f9644-22911_top[1]](https://blog.quindorian.org/wp-content/uploads/2016/07/d71fb07b5c27833b79b3068bd48f9644-22911_top1-300x300.png)

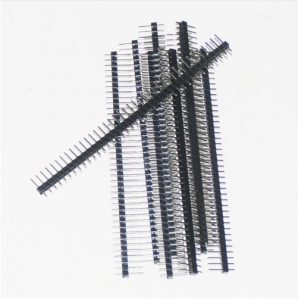
2. Pin headers
Pin headers are the little sticks of metal with a plastic spacer on them. They come in strips of 40 and are easy to snap off. Since they come in handy for some many things, I suggest just getting a bunch of them, they’re quite cheap. They have a breadboard compatible spacing of 2.54mm.
Black: Set of 20 strips of 40 pins each
Colored: Set of 10 strips of 40 pins each

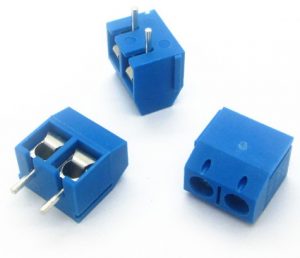
3. Screw Terminal blocks
The screw terminal block is where the power goes in and comes out of the board. The terminals I used have a 5.00mm pitch, their available in a few different colors.
Green: 20pcs, 2 pin Screw Terminal blocks
Blue: 100pcs, 2 pin Screw Terminal blocks
Black: 20pcs, 2 pin Screw Terminal blocks
Red: 100pcs, 2 pin Screw Terminal blocks
Multicolor: 300pcs, 2 pin Screw Terminal blocks Green, Red, Blue

4. Jumpers
To get the ESP8266 into flash mode, you are going to need 2 jumpers. Luckily, they are dirt cheap!
Black: Set of 100 Jumpers 2.54mm
Red: Set of 6×100 2.54mm Multi-color jumpers


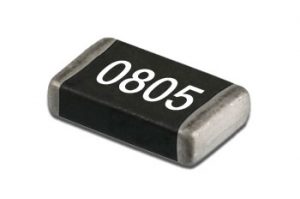
5. 0805 10K Ohm Resistors
As I mentioned, I made room on the board to house resistors and they might improve the life of the ESP8266 so I suggest soldering them on. Alternatively, you can just cross both resistor pads on the back of the QuinLED PCB and that will also work.
I chose the 0805 size because it’s still solder-able using a pincet. Smaller sizes are practically impossible to do by hand.
Resistors: 100pcs 0805 10K Ohm Resistors

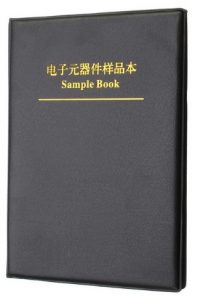
Alternatively you can get a resistor sample book. That way, whatever type you might need in the future, you’ll be set! I find it very handy to have on hand.
Resistor and capacitor sample book: 3025pcs Resistor + 700pcs Capacitor

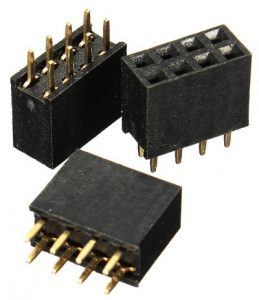
6. 2×4 pin header socket
Because I don’t like soldering the ESP8266 to a board and in my design we need a little bit of elevation above the DC-DC voltage regulator, I use a 2×4 pin header socket to stick the ESP-01 into!
Black: 2×4 pin header socket

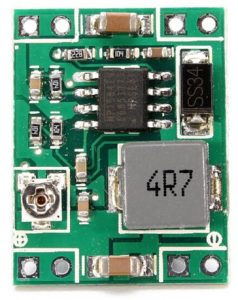
7. DC-DC converter
The ESP8266 requires a stable 3.3v input but LEDs often run on completely different voltages. To fix this problem I use a pre-built DC-DC voltage converter which solves this problem quite effectively!
Mini: 5pcs DC-DC Voltage converter, 3A max
Mini: 10pcs DC-DC Voltage converter, 3A max

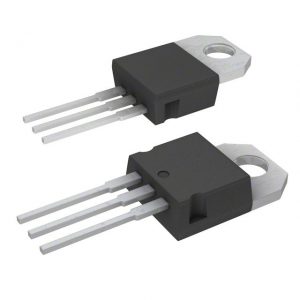
8. Mosfet
Selecting the right MOSFET wasn’t easy because I did not have much knowledge about them at the time.
But I quickly learned the most important values to look for and in this case that’s voltage handling, amperage handling but most importantly gate trigger voltage and switching speed. And this value is also where Chinese MOSFETs often go wrong. I’ve ordered 2.5v gate MOSFETs which only fully opened around 5.5v! So be careful which you end up buying. If you run into this problem, get a refund from the seller because they are selling the wrong product!
If your LED strip only lights up dimly (50% at max) and/or flickers, your MOSFETs are probably “bad”.
You can try and use a different type of TO-220 MOSFET if you can find one. As mentioned above, the most important specfication is that the gate opens fully below 3.3v, which the ESP8266 outputs. Also, make sure it can switch fast enough (but most can).
I try and replace the link when I get reports of the seller sending the wrong types. Please let me know! It also helps to report to the seller that they are the wrong type (get your money back) and leave a review on the Aliexpress component that it does not work with 3.3v gate voltage!
If all else fails, I now often order these MOSFETs from a local shop (Conrad) and those have always worked perfectly!
MOSFET: 5pcs STP16NF06L (data sheet)
–update 2018-04-18 – Changed Aliexpress MOSFET link again, hopefully this time you get the correct kind!
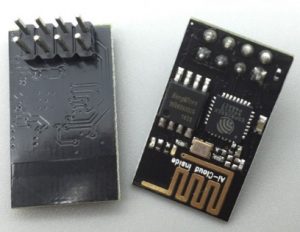
Probably the most important component to buy, the ESP8266! This is the micro-controller which handles the whole program and all the PWM pulsing.
Easily programmable and usable with either the native OS, Arduino C, Micropython or NodeMCU LUA, which is what I used to program my dimmer code in!
ESP8266: 5pcs ESP-01
ESP8266: 10pcs ESP-01

And that’s the last piece for the required board components. With these components you can completely solder a full QuinLED board. But to be able to use it you need some more parts to make it all work!
QuinLED required external components
Next to what you need on the board, you need a few components to make everything work.
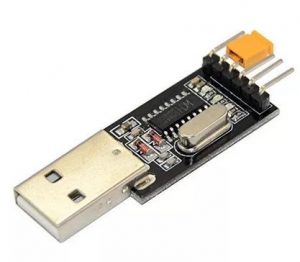
1. USB to Serial
To be able to flash and program the ESP-01 that’s on the QuinLED board you just soldered, you need a 3.3v USB to Serial adapter.
You plug this into your laptop and launch a special software tool and it allows you to flash and talk to the ESP-01. More about this in future posts and videos!
There is two types I have had good succes with:
FTDI (clone): Red board without mini-usb cable
Cable: Mini-USB cable to go with the FTDI board
Or you can go for the cheaper alternative which is a CH340G type. Although I’ve had good succes with them, I’ve heard of people having problems with this type using a MAC or Linux. Safest bet is ordering both. 😉
Windows compatible: CH340G USB-to-Serial

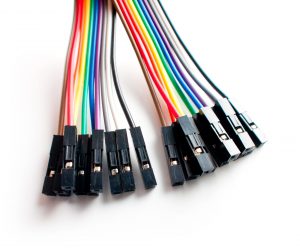
2. Dupont cables
To connect your USB to serial converter to QuinLED or the ESP-01 you are going to need some female to female dupont cables.
But, since these little cables are dirt cheap, I recommend getting a set of all the different variaties!
Dupont cables: Set of F-F, M-F and M-M

Required Variable Components
Next to the required board and external components, you will need just a few more items to have a complete set.
The above will allow you to completely solder the board and hook it up to your PC. But in the end you also need some LED lights and a power supply to make everything work!
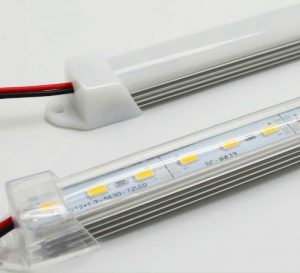
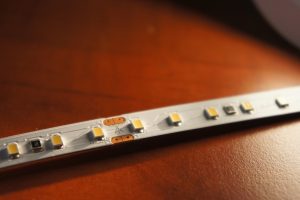
1. LED bar or strip
Option A: Cheap non-primary lighting
12v LED bars
If you are first getting started with this product and don’t have any 12v or 24v LED strip or bars yet, I recommend getting the following.
If you need a quick light somewhere these things are awesome! For the complete package they are also quite cheap since you get the strip, caps, mounting clips and a full aluminum bar as a heatsink. Basically a complete kit with which you’re immediately set.
They come in a handy 50cm size and you can link a few together if you wish.
Rigid alu bar: 5 pcs, 5630 LED version (High brightness, 6 to 7 watt per bar)
Rigid alu bar: 10pcs, 5630 LED version (High brightness, 6 to 7 watt per 50cm bar)
Rigid alu bar: 10pcs, 5730 LED version (Very high brightness, 8 to 9 watt per 50cm bar)
Rigid alu bar (Corner version): 5pcs, 5730 LED version (Very high brightness, 8 to 9 watt per 50cm bar)

12v LED strip
Flexible LED strip: ultra cheap 5 meter strip with 5630 LEDs (12 watt per meter)
Flexible LED strip: ultra cheap 5 meter strip with 3528 LEDs (10 watt per meter)
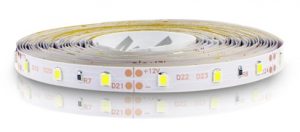

Option B: Very high quality, High CRI, 24v LED strip
The above alu bars are a good all in one package and geven a high amount of decent quality light. But if you wish to up the ante and get a great quality, high CRI values and less voltage drop between the start of the strip and the end I recommend getting 24v, High CRI LED strips. I tested a lot of different lights myself and wrote the following article about it here.
The design of QuinLED can handle up ~30v without any changes, the onboard voltage regulator will also auto adjust! Just be sure to get the right power supply (see below).
These strips have 90 LEDs per meter and as said require 24v. They are available in three different light colors including real, super warm white 2700k which has a lot of red color in the light instead of blue with cheaper LEDs.
Fully lit these strips consume the insane amount of 21.6w per meter. But these strips get BRIGHT, like the sun! While dimmed, power usage drops accordingly.
(The products state that they cannot be dimmed but I have personally verified they work great with QuinLED!)

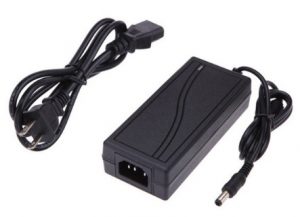
2. Power Adapter/Supply
The last part required to make it all work is a power supply! Power supplies come in a lot of different voltages, amperage’s and form factors.
Since above we talked about 12v and 24v I will focus on those two voltages.
To determine what kind of power supply or adapter you need, you first need to figure out what kind of wattage the total strip you are going to connect is going to require. The one important rule with this is to keep in mind to never use more then 80% of a power supplies rating.
Wattage = Volt * Amps
If we look above, and want to put up 3 Alu LED bars those will use about 7 watt a piece so three will consume 21 watt in total.
- A 12v 2A adapter can deliver 24 watt which would be too close to the maximum the adapter can deliver
- A 12v 3A adapter can deliver 36 watt and would be a good fit
Taking that rule and looking at a 5m strip, more wattage is needed. Especially the high quality 24v strip I listed above is VERY power hungry. If you decide to use it extensively, be sure to also read this post about power supplies!
12v Power Adapter/Brick/Supply
Adapter: Simple 12v 2A adapter
Adapter: Simple 12v 3A adapter


Power Brick: 12v 6A power brick

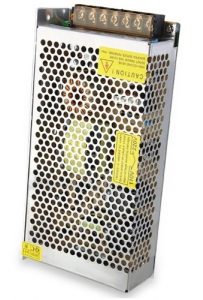
Power Supply: 12v 10A power supply
Power Supply: 12v 20A power supply

24v Power Brick/Supply
Since the 24v strips need more power then the 12v I don’t feel it’s useful to list any low power adapters.
Power Brick: 24v 4A with cable
Power Supply: 24v 5A metal
Power Supply: 24v 10A metal
Optional Components
These are supplies I recommend on getting, but aren’t absolutely necessary to have a working setup. They often can make things a lot easier though!
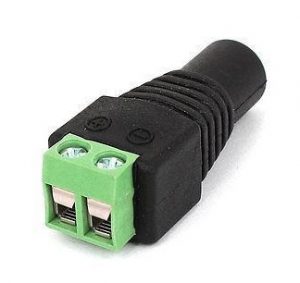
1. DC barrel female Jack
To easily connect QuinLED to a power adapter or brick it’s quick to use a DC barrel female jack. I recommend getting a few sets so you always have the versatility to create easily dis-connectable connections.
DC Barrel: 5pcs Female + Male set

Conclusion
And that should be it. If everything went correctly you have all the components you saw in the video lying on your table and have all the components you need to build a complete board.
In the next post I will discuss the tools you might need (and list those) and also try to put up a sort of soldering tutorial video. I’m not great at it myself but after a lot of practice (building various versions of QuinLED) I’ve gotten pretty decent at making those. I’ll also highlight the order to solder everything together to make it as easy as possible for everyone!
As always, question or comments are always welcome. And if you want, please like the video and subscribe to my channel for future updates, I appreciate that a lot!