
The last part of the ESP8266 WiFi LED dimmer project is getting it to work inside of my Domotica system of choice: Domoticz. We can do this using LUA scripts, in the end you will have an easy dimmer slider in Domoticz which you can use to control each channel of the ESP8266 WiFi LED dimmer.

This guide will not tell you how to install Domoticz or get it working, it will purely explain how to get the LED dimmer function inside of a working Domoticz installation.
This series has been rebooted
Please take a look at the following post to visit the new rebooted series and index of all posts: http://blog.quindorian.org/2016/07/esp8266-lighting-revisit-and-history-of-quinled.html/
Create a Dummy Device
 |
| Fill in the name and select the type “Dummy” |
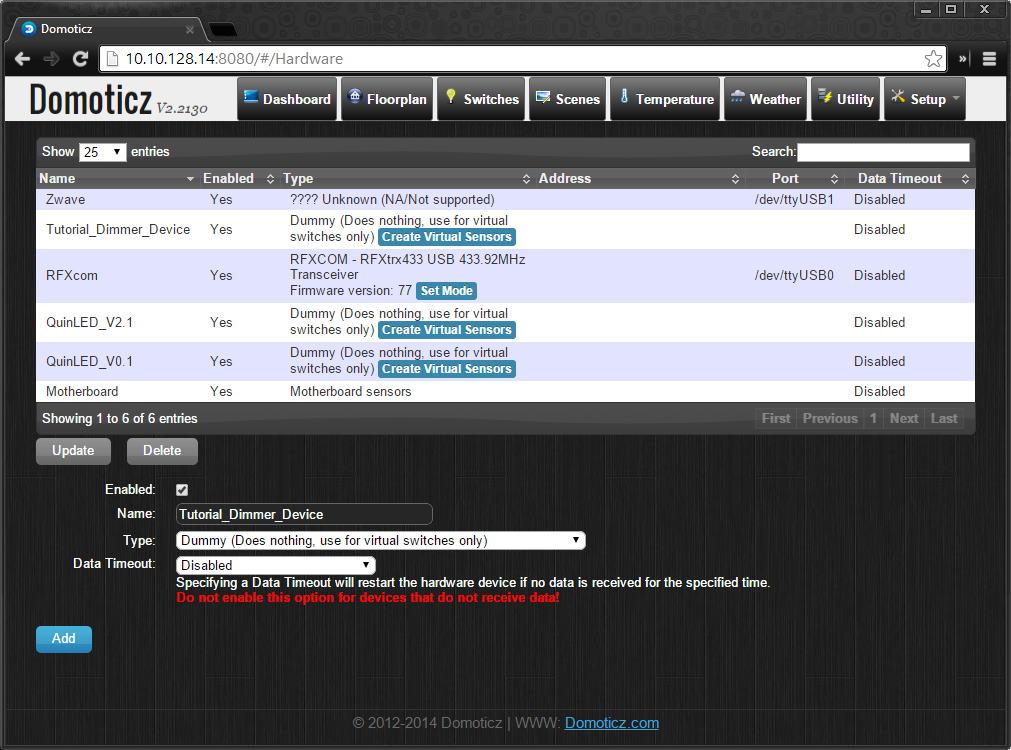 |
| Dummy device has been added |
Create a new Switch
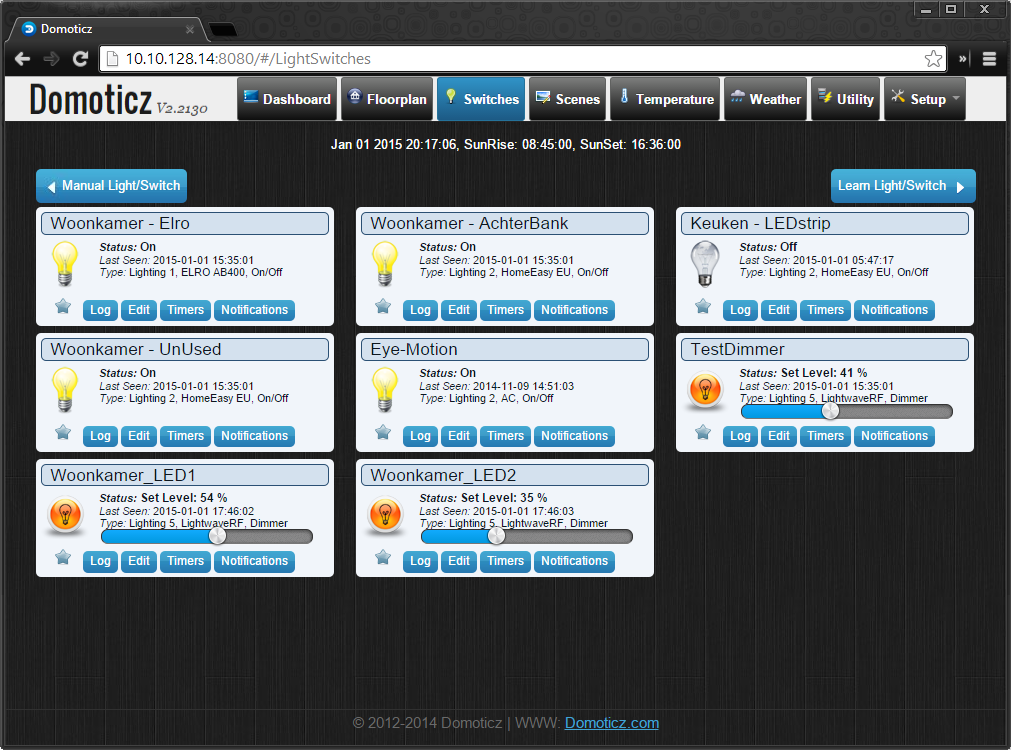 |
| It’s the blue button on the top left |
When the dialog appears, select the dummy switch you created as the ‘Hardware’. Then type a name for the Light, best to use a description as where it is or what it is going to light. Be sure not to include spaces in the name. Then select that it’s a ‘Dimmer’ Switch type with type “LightWaveRF”.
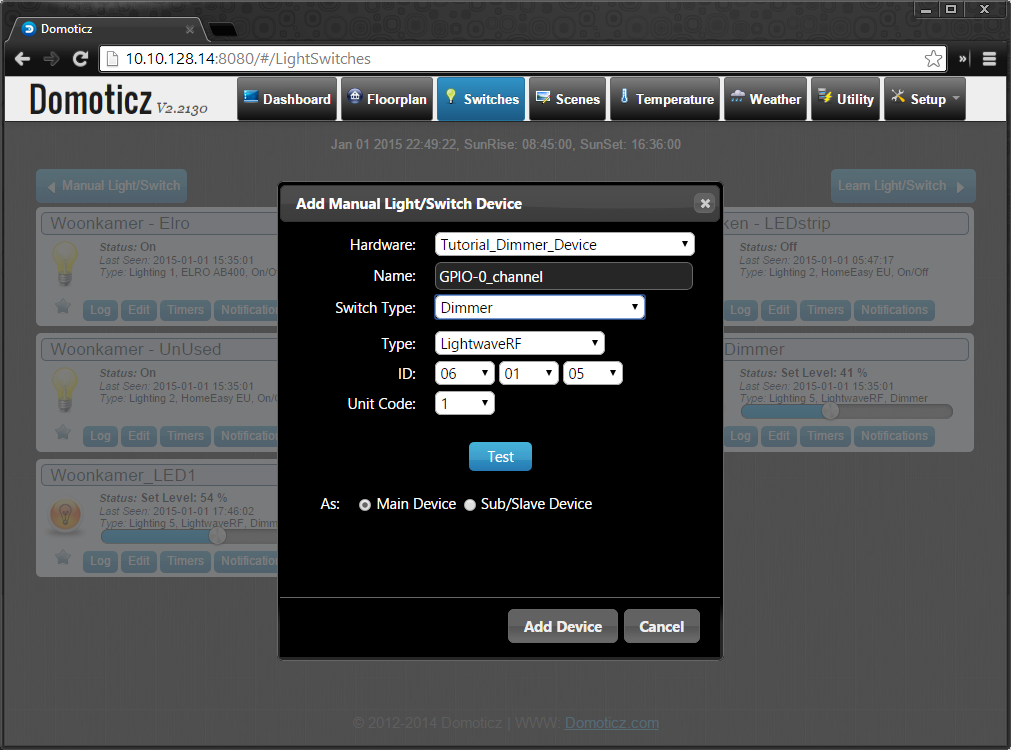 |
| Be sure to keep the switch type as LightWaveRF |
Once that is done, the switch should show up in the “Switches” window.
 |
| New dimmer switch on the bottom right |
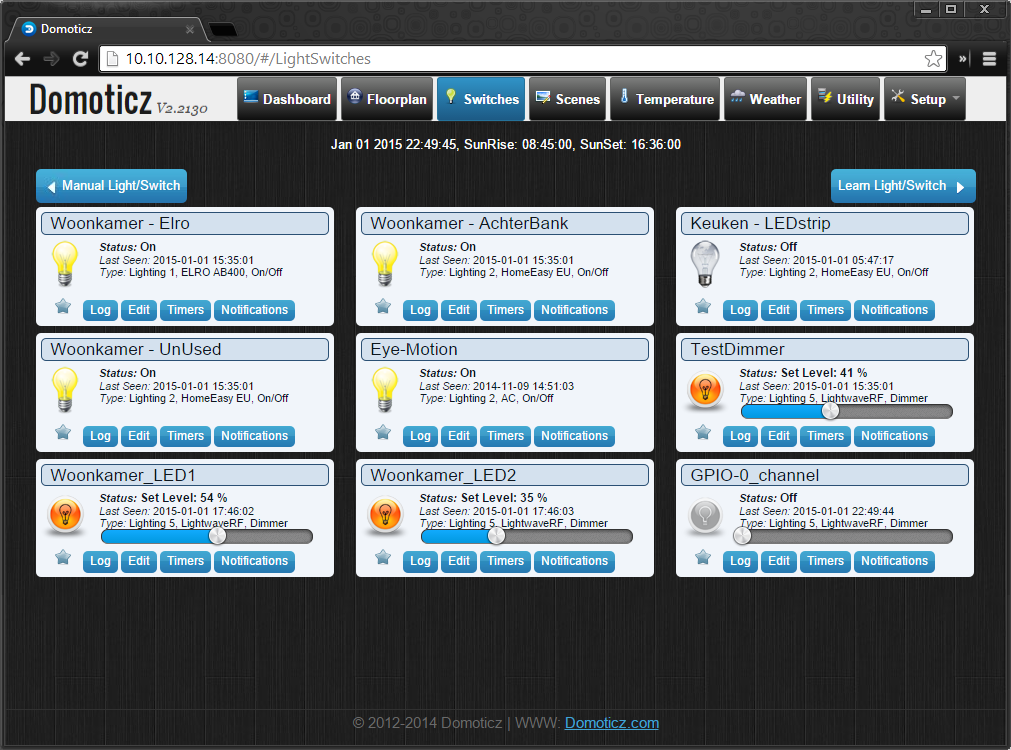
Once that is done, click “edit” on the switch to take a look inside of it.
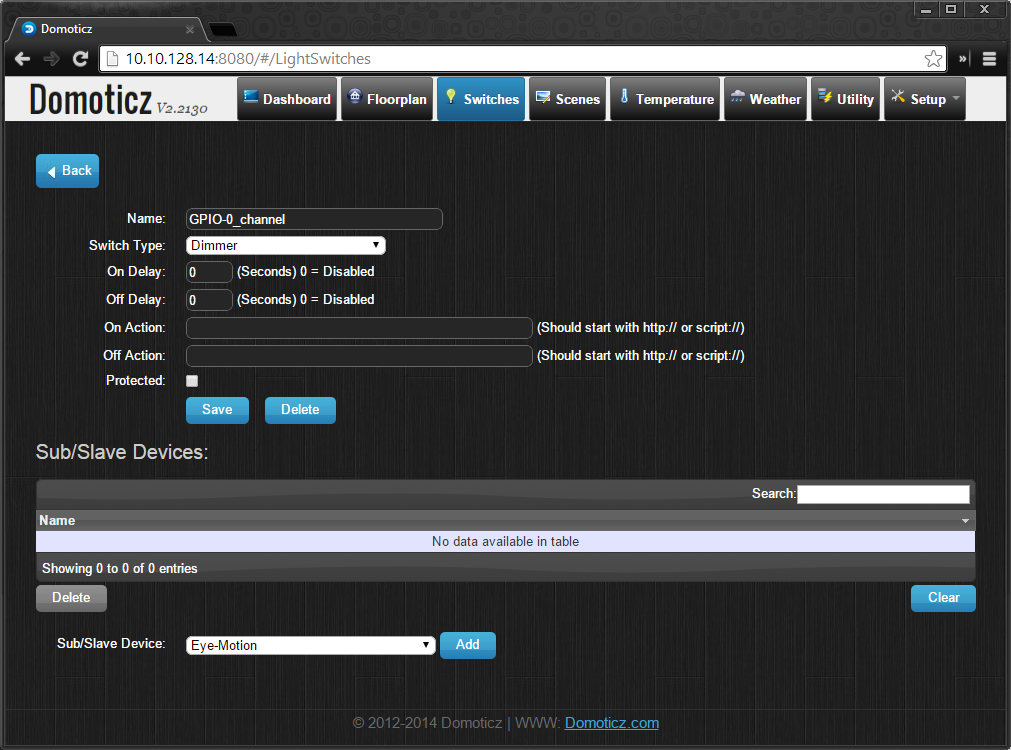 |
| Inside of the switch, you do NOT have to fill in any action scripts |
Creating the LUA scripts
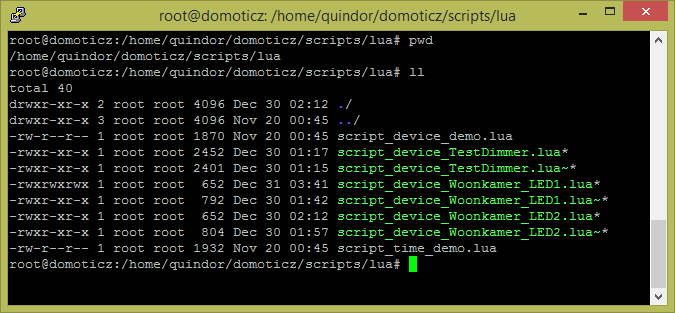 |
| Domoticz script directory with some scripts |
The script we need to create in the “script_device_GPIO-0_channel.lua” file is the following:
commandArray = {}

DomDevice = 'GPIO-0_channel'
IP = '10.10.200.10'
Port = '43333'
LEDtarget = 'LED1_Target='

 if devicechanged[DomDevice] then
   if(devicechanged[DomDevice]=='Off') then DomValue = 0;
   print ("Turning off " .. DomDevice);
   runcommand = "echo " .. (LEDtarget) .. "0  | nc " .. (IP) .. " " .. (Port) .. " ";
   print (runcommand);
   os.execute(runcommand);
 return commandArray
   else
    DomValue = (otherdevices_svalues[DomDevice]);
   end
   CalcValue = DomValue * 33;
   print ("Value received from Domoticz was " .. (DomValue) .." ");
   print ("Calculated value for ESP is " .. (CalcValue) .." ");
   print ("Dimming "  .. (DomDevice) .. " to " .. (CalcValue) .. " ");
   runcommand = "echo " .. (LEDtarget) .. "" .. (CalcValue) .. " | nc " .. (IP) .. " " .. (Port) .. " ";
   print (runcommand);
   os.execute(runcommand);
 end
return commandArray
Updated the Domoticz code to handle turning off the dimmer in a script correctly. Also made it fully Dynamic with the variables at the beginning of the script.
Be sure to fill in the variables at the beginning of the script, no need to edit anything else in the script itself.
Domoticz gives you a 32 value Dimmer setting you can readout. We use this value to calculate to a maximum duty cycle setting the ESP8266 accepts for it’s PWM channels (max is 1023). Then we use netcat again to send the command to the ESP-01 we configured. I know I can use LUA native commands to send the commands to the device but since the default install of Domoticz does not come with the ‘sockets’ library I decided to do it this way for now. I will probably try it in the future to see if it’s faster or better in any way.
The way it works now is that even if the ESP-01 is dimming you can send it a new command and it will immediately change it’s dimming cycle towards that value. So even if you select 5 values quickly after each other it should end up at the latest setting 5 seconds after you made the setting in Domoticz.
And that’s it! Now you have a dimmer you can control and you LED strip should follow with dimming the light towards to value you choose.
The fading is controlled inside the LUA script running on the ESP-01 the default setting is to use 5 seconds as the time every dim will take. I like the soft fading of the lights but also value the constant 5 second rule.
Now it’s easy to expand from here. If you wish to use the second channel, create another switch, and use the same script but edit it to send LED2_target= and you’re done. The same thing for using multiple modules, every time you will need to create a new switch which you can then control in Domoticz.